Honda CR-V Brake Pad and Rotor Replacement: DIY Guide

Learn how to replace brake pads and rotors on your Honda CR-V with this step-by-step DIY guide. Discover common signs of worn brakes, required tools, installation tips, electronic parking brake precautions, and how to keep your CR-V stopping safely.
Replacing the brake pads and rotors on your Honda CR-V is one of the most important maintenance jobs you can perform to keep your SUV safe and dependable. Whether you're driving an older CR-V or a newer model equipped with an electronic parking brake, understanding how the braking system works can help you recognize problems before they become expensive repairs.
Worn brake pads, damaged rotors, and sticking calipers can reduce braking performance, create irritating noises, and cause uneven wear. Fortunately, many brake components can be replaced at home by experienced DIY mechanics with the correct tools and service information.
In this guide, we'll explain when your Honda CR-V needs new brake pads or rotors, how to choose replacement parts, the steps involved in replacing them, and the common mistakes to avoid.
How Do You Know When Your Honda CR-V Needs New Brakes?
Your CR-V's braking system experiences wear every time you slow down or stop. Over time, the friction material on the brake pads becomes thinner, and the brake rotors can develop scoring, corrosion, or excessive wear.
Recognizing the warning signs early can help prevent additional damage.
Common Signs of Worn Brake Pads
- Squealing or squeaking: Some brake pads have mechanical wear indicators that produce a metallic noise when the friction material becomes thin.
- Grinding noises: Metal-on-metal grinding can indicate severely worn pads or another serious braking problem.
- Reduced braking performance: The vehicle may require more pedal effort or distance to stop.
- Uneven brake wear: One brake pad may wear faster than another because of sticking caliper components.
- Visible wear: Inspection may reveal that the brake pad friction material is approaching its minimum allowable thickness.
- Pulling while braking: Uneven braking force can cause the vehicle to pull to one side, although tires and suspension problems can produce similar symptoms.
Not every squeak means your brake pads need replacing. Moisture, dust, surface corrosion, and certain pad materials can cause occasional brake noise.
However, persistent grinding, reduced stopping ability, or an abnormal brake pedal should be inspected immediately.
Signs Your Brake Rotors May Need Replacement
- Deep grooves or excessive scoring.
- Significant corrosion on the braking surface.
- Rotor thickness below the manufacturer's minimum specification.
- Cracks or severe heat-related damage.
- Brake pedal pulsation caused by excessive disc thickness variation or runout.
- Uneven braking surfaces that cannot be corrected within service limits.
A slight lip along the outer edge of a used rotor isn't automatically a reason for replacement. The rotor should be measured and inspected against Honda's specifications.
Pro tip: Don't automatically replace brake rotors simply because you're installing new pads. Inspect rotor thickness, condition, and runout first. However, if a rotor is below specification or significantly damaged, replacement is necessary.
Understanding the Honda CR-V Braking System
Honda CR-V models use hydraulic braking systems with disc brakes at the front and, on many generations, at the rear.
The braking system includes several important components:
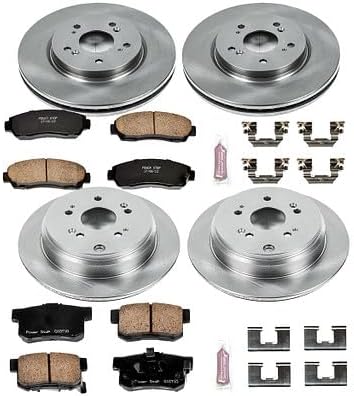
- Brake pads: Friction material that contacts the rotating brake rotor.
- Brake rotors: Metal discs attached to the wheel hubs.
- Brake calipers: Hydraulic assemblies that press the brake pads against the rotors.
- Caliper brackets: Components that support the caliper and brake pad hardware.
- Slide pins: Allow floating calipers to move properly during braking.
- Brake fluid: Transfers hydraulic pressure from the brake pedal to the braking components.
- ABS: Helps prevent wheel lockup during hard braking.
- Parking brake: Holds the vehicle stationary when parked.
While the fundamental braking principles remain similar across generations, Honda has changed the design and operation of certain components.
Important: Older vs. Newer CR-V Brake Systems
Before ordering parts or beginning repairs, identify which braking system your CR-V uses.
Older CR-V Models With Mechanical Parking Brakes
Earlier Honda CR-V generations use mechanically operated parking brake systems.
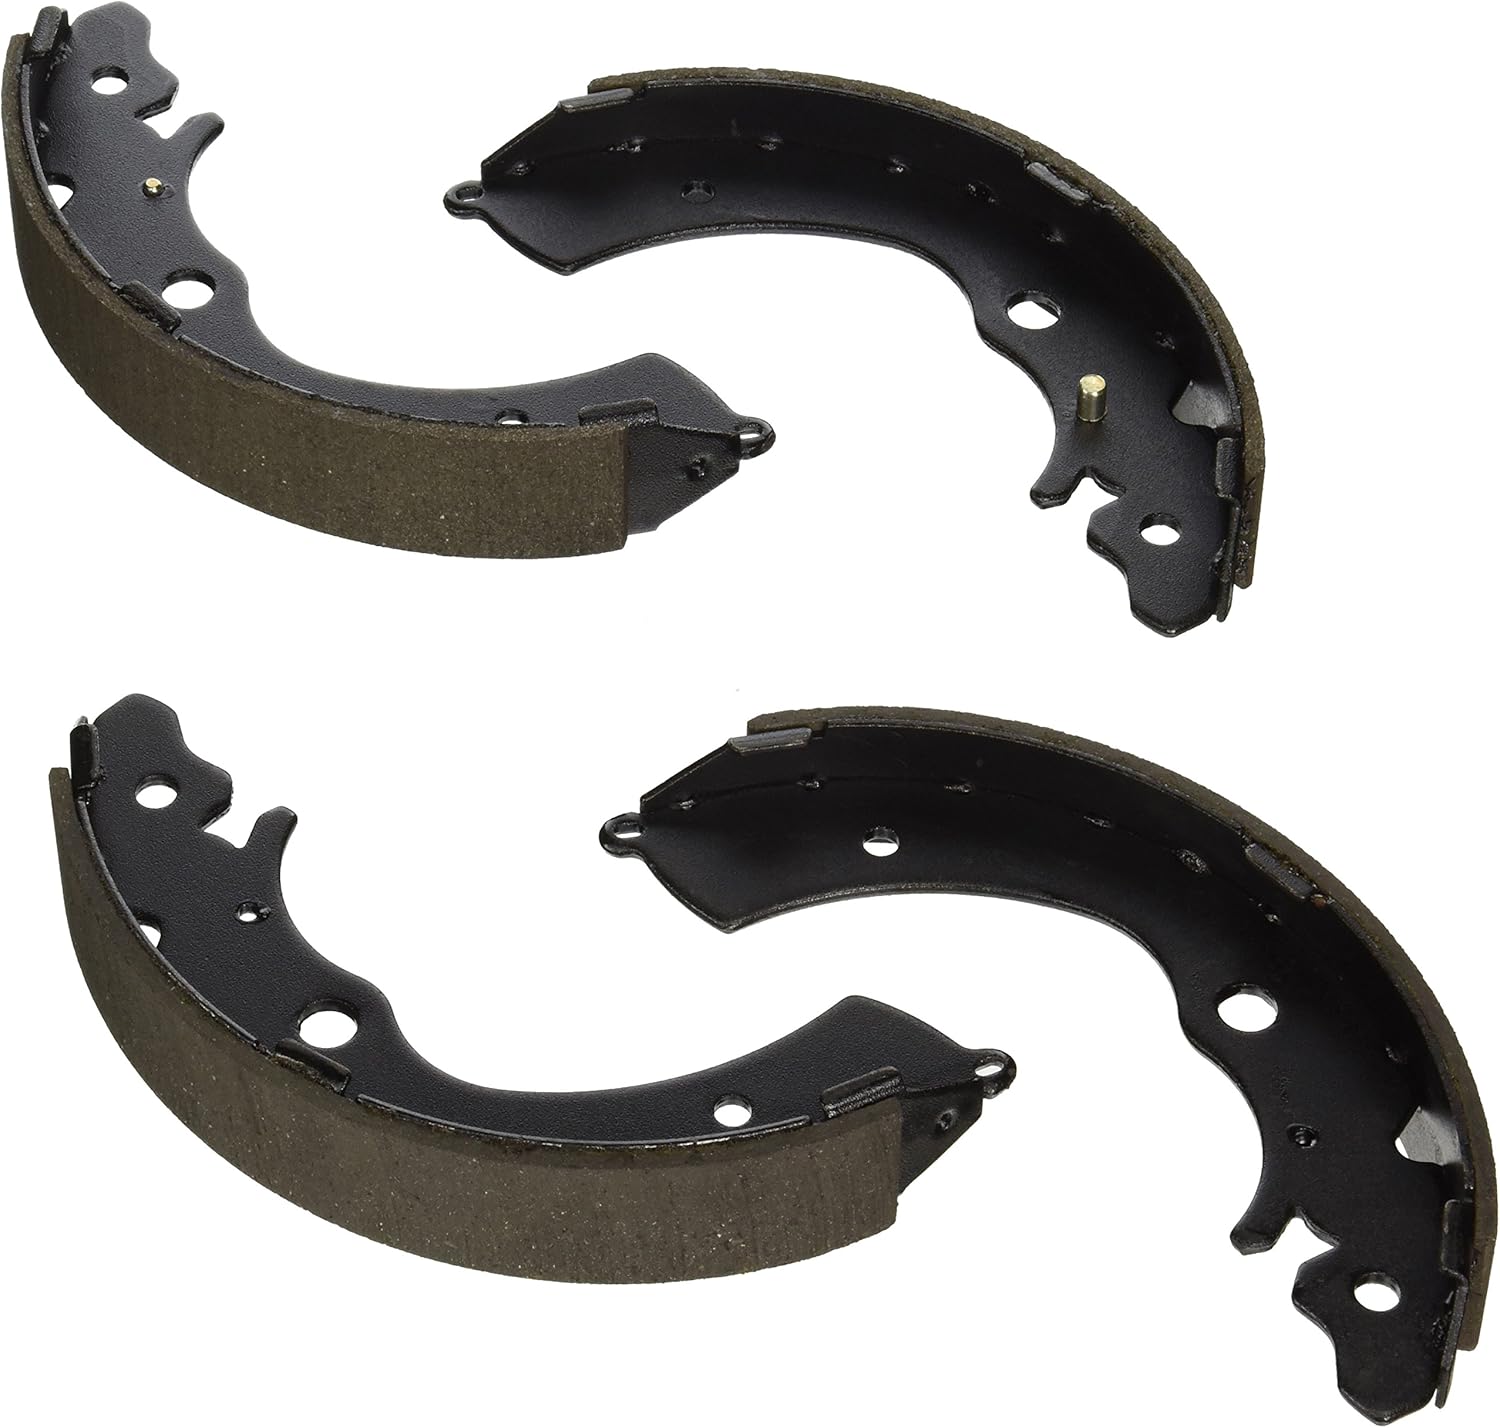
Depending on the model year, rear brake service may involve separate parking brake shoes inside the rear rotor assembly.
These systems require careful adjustment and inspection when removing or reinstalling the rear rotors.
2017 and Newer CR-V Models With Electronic Parking Brakes
Beginning with the 2017 model year, Honda introduced an electronic parking brake on the CR-V.
This system uses electrically controlled rear brake components rather than a conventional mechanical parking brake lever or pedal.
On these models, rear brake pad replacement requires following the appropriate electronic parking brake service procedure before retracting the caliper pistons.
A compatible scan tool or Honda-approved service equipment may be required to place the parking brake system into its maintenance position.
Trying to force a rear caliper piston backward without following the correct procedure can damage the electronic parking brake actuator.
Important: Never attempt to force an electronic parking brake caliper piston backward using a conventional clamp unless the manufacturer's service procedure specifically permits it. Incorrect procedures can damage the actuator and cause brake system faults.
What You'll Need
Before beginning your brake replacement project, gather the correct tools and replacement components.
- New brake pads designed for your Honda CR-V.
- Replacement brake rotors, if necessary.
- New brake hardware or retaining clips as specified.
- Metric socket set and ratchet.
- Breaker bar.
- Torque wrench.
- Hydraulic floor jack.
- Properly rated jack stands.
- Wheel chocks.
- Brake piston compression tool suitable for your caliper.
- Honda-compatible electronic parking brake service tool, when required.
- Brake cleaner and lint-free shop towels.
- Wire brush or approved hub-cleaning tool.
- Brake lubricant approved for the specific contact points.
- Caliper support hook or strong wire.
- Impact screwdriver for rotor retaining screws, if necessary.
- Brake rotor measuring tools, including a micrometer.
- Protective gloves and safety glasses.
- Factory service information for your CR-V's model year.
Depending on the vehicle's condition, additional replacement caliper hardware, slide pins, or other components may be necessary.
Verify the exact brake rotor diameter, pad shape, and caliper configuration using your vehicle's model year, trim, and VIN before ordering parts.
Choosing the Right Brake Pads for Your CR-V
Brake pad selection can influence noise, dust, pedal feel, braking characteristics, and wear.
Several friction material options are commonly available for everyday vehicles.
Ceramic Brake Pads
Ceramic brake pads are popular among daily drivers because many formulations emphasize low noise, reduced visible brake dust, and smooth operation.
They can be a practical option for CR-V owners who prioritize comfortable everyday driving.
Semi-Metallic Brake Pads
Semi-metallic brake pads contain metallic materials combined with other friction compounds.
Depending on the formulation, they can provide strong braking characteristics and good heat handling, although some may generate more noise or dust.
OEM Honda Brake Pads
Genuine Honda replacement pads are designed for the vehicle's factory braking system.
For owners who are satisfied with their CR-V's original brake feel, OEM replacement components are a sensible starting point.
Quality aftermarket brake pads from established manufacturers can also be suitable when they meet the vehicle's requirements.
Our recommendation: For a stock Honda CR-V used primarily for commuting, shopping, and highway driving, prioritize correct fitment, predictable braking, low noise, and established product quality over aggressive performance marketing.
Step-by-Step: How to Replace Brake Pads and Rotors on a Honda CR-V
The following steps explain the general process for replacing disc brake pads and rotors. Exact procedures, tool sizes, and tightening specifications vary by model year and axle.
Brake work is safety-critical. Consult the factory service procedure for your vehicle, and have a qualified technician complete the repair if you're unfamiliar with hydraulic brake systems or electronic parking brakes.
Step 1: Prepare and Secure Your CR-V
Park your Honda CR-V on a flat, stable surface. Allow the brakes to cool completely before beginning.
Put the transmission in Park, chock the wheels that will remain on the ground, and follow the appropriate parking brake instructions for the axle being serviced.
For rear brake replacement, the parking brake must not remain applied to the brakes being disassembled. On electronic parking brake models, follow the required maintenance procedure before working on the rear calipers.
Loosen the wheel lug nuts slightly while the vehicle remains on the ground.
Raise the appropriate end of the vehicle using Honda's designated lifting points and secure it with properly rated jack stands.
Never work underneath a vehicle supported only by a hydraulic floor jack.
Step 2: Remove the Wheel
Once the vehicle is safely supported, finish removing the lug nuts and carefully remove the wheel.
Set the wheel aside and inspect the exposed brake assembly.
Look for:
- Uneven brake pad wear.
- Damaged or leaking caliper components.
- Cracked rubber dust boots.
- Excessive rotor corrosion.
- Damaged brake hoses.
- Loose or missing hardware.
If you notice leaking hydraulic fluid, severely deteriorated hoses, or damaged components, address those problems before continuing.
Step 3: Remove the Brake Caliper
Locate the brake caliper mounting hardware and remove the appropriate fasteners according to the factory service instructions.
Carefully lift the caliper away from the rotor.
Support the caliper using a suitable hook or wire attached to a secure suspension component.
Never allow the brake caliper to hang from its flexible hydraulic hose.
Inspect the caliper piston dust boot and surrounding components for signs of leaks, tearing, or corrosion.
Do not press the brake pedal while the caliper is removed from the rotor and unsupported by the normal brake assembly.
Step 4: Remove the Old Brake Pads
Slide the old brake pads out of the caliper bracket or their designated mounting positions.
Observe the location of the inner and outer pads, anti-rattle clips, shims, and wear indicators.
Compare the amount of friction material remaining on each pad.
If one pad is significantly more worn than the other, the caliper slide pins or piston may not be operating correctly.
Inspect the brake pad contact points and remove dirt or corrosion using an approved cleaning method.
Replace worn or damaged hardware rather than simply installing new pads over defective components.
Step 5: Remove the Brake Caliper Bracket
If you're replacing the brake rotor, remove the caliper bracket when required for access.
The bracket is typically secured by mounting bolts located behind the brake rotor.
These fasteners may be tight, especially on older vehicles exposed to road salt or corrosion.
Use the correct tools and avoid damaging the bolt heads.
Keep track of all removed hardware and inspect it for damaged threads or corrosion.
Step 6: Remove the Old Brake Rotor
With the caliper and bracket removed, inspect the rotor mounting arrangement.
Some Honda brake rotors use small retaining screws that must be removed before the rotor can be separated from the wheel hub.
A properly fitting impact screwdriver may help remove stubborn screws.
If the rotor is stuck to the hub because of corrosion, use the manufacturer's approved removal procedure.
Some rotors include threaded holes that allow appropriately sized bolts to be used for controlled removal.
Older CR-V rear rotors may also require parking brake shoe clearance adjustments before removal.
Never use excessive force without confirming that all retaining hardware and parking brake components have been released.
Step 7: Clean the Wheel Hub
Once the old rotor has been removed, inspect the wheel hub surface.
Rust, dirt, and debris trapped between the hub and rotor can prevent the new rotor from sitting flat.
This can contribute to excessive rotor runout and braking vibration.
Use an appropriate cleaning tool to remove corrosion without damaging the hub surface or wheel studs.
Make sure the hub face is clean and free of raised debris before installing the replacement rotor.
Pro tip: Don't skip cleaning the wheel hub. Installing a perfectly good new rotor over heavy rust deposits can create braking vibration and premature wear.
Step 8: Install the New Brake Rotor
Compare the new rotor with the original to confirm the correct diameter, thickness, offset, and mounting configuration.
Some replacement rotors have protective oil or residue that must be removed from the friction surfaces before installation. Follow the manufacturer's cleaning instructions.
Position the replacement rotor onto the hub and reinstall the appropriate retaining hardware.
The rotor should sit flush against the hub without rocking or visible gaps.
If required by the service procedure, measure rotor runout to confirm proper installation.
Step 9: Inspect and Service the Caliper Slide Pins
Floating brake calipers rely on slide pins to move properly as hydraulic pressure is applied.
Sticking slide pins can contribute to uneven brake pad wear, dragging brakes, and overheating.
Remove and inspect the pins as directed by the service manual.
Check for:
- Corrosion or pitting.
- Damaged rubber boots.
- Restricted movement.
- Hardened or contaminated lubricant.
- Excessive wear.
Clean and lubricate serviceable slide pins using the appropriate brake-specific lubricant recommended for the application.
Make sure the lubricant is compatible with the rubber components.
Replace damaged pins, boots, or brackets rather than attempting to reuse unsafe components.
Step 10: Retract the Brake Caliper Piston
New brake pads are thicker than the worn pads being removed, so the caliper piston generally needs to be returned to the proper position before reassembly.
For conventional front brake calipers, the piston may be compressed using a suitable caliper piston tool according to Honda's service procedure.
Monitor the brake fluid reservoir during this process because retracting the piston can raise the fluid level.
If the fluid reservoir is already excessively full, brake fluid can overflow and damage painted surfaces.
Never force a piston that won't retract smoothly. A seized piston, hydraulic restriction, or incorrect procedure may be responsible.
Special Procedure: Electronic Parking Brake Calipers
For 2017 and newer CR-V rear brakes, follow the electronic parking brake maintenance procedure specified for your vehicle.
This may involve a compatible diagnostic scan tool that commands the parking brake actuators into their service position.
Only after the system has been correctly prepared should the rear caliper piston be retracted using the specified procedure and tools.
Do not attempt to force the piston backward or improvise an actuator procedure.
After replacing the components, the system must be returned to normal operation and any required initialization or calibration completed.
If you don't have access to the necessary equipment or service instructions, have a qualified technician perform the rear brake service.
Step 11: Install the New Brake Pads
Install the new brake pad retaining clips, shims, and other hardware as specified by the manufacturer.
Apply an appropriate amount of approved brake lubricant only to designated metal contact points when required.
Do not allow grease or lubricant to contact the rotor friction surfaces or brake pad friction material.
Position the replacement brake pads correctly, paying attention to any directional markings or wear indicator locations.
The pads should move freely within their mounting hardware without excessive looseness or binding.
Step 12: Reinstall the Caliper and Bracket
Reinstall the caliper bracket and tighten its mounting bolts using the factory torque specifications.
Position the brake caliper over the replacement pads and rotor.
Reinstall the caliper fasteners using the proper tightening sequence and torque.
Replace any fasteners that Honda specifies as single-use.
Check that the brake hose is correctly routed and not twisted or stretched.
Carefully inspect the assembly before reinstalling the wheel.
Step 13: Repeat the Process on the Opposite Side
Brake pads and rotors should be serviced in matched pairs on the same axle.
If you're replacing the front brake pads, replace the pads on both front wheels.
The same applies to rear brake pad replacement.
When rotor replacement is needed, replacing both rotors on the affected axle is generally recommended to maintain consistent braking characteristics.
Inspect both sides for uneven wear, damaged components, or signs of sticking calipers.
Step 14: Reinstall the Wheels
After confirming that all brake components are properly installed, reinstall the wheels and start the lug nuts by hand.
Lower the vehicle according to the correct lifting procedure.
Use a calibrated torque wrench to tighten the wheel lug nuts to Honda's specification for your specific CR-V.
Avoid relying on an impact wrench alone for final tightening.
Step 15: Pump the Brake Pedal Before Moving
Before attempting to drive the vehicle, press the brake pedal several times with the vehicle stationary until it feels firm and consistent.
This helps seat the caliper pistons against the new brake pads.
Check the brake fluid level and inspect all serviced components for leaks or installation problems.
Complete the required electronic parking brake procedures if your vehicle uses that system.
If the brake pedal remains soft, travels excessively, or fails to build normal pressure, do not drive the vehicle. The braking system requires additional inspection and repair.
Critical safety reminder: Never move a vehicle immediately after brake reassembly without first restoring a firm brake pedal and verifying normal brake operation.
Step 16: Test the Brakes and Follow the Break-In Procedure
After verifying proper assembly and brake pedal operation, test the brakes at very low speed in a safe, traffic-free area.
Listen for abnormal noises and check that the vehicle stops smoothly and predictably.
New brake pads and rotors may require a bedding-in period to establish proper contact and friction material transfer.
Follow the specific break-in instructions supplied by the brake pad and rotor manufacturer.
Some manufacturers recommend a series of controlled braking events, while others specify a gradual break-in period during normal driving.
Avoid unnecessary hard braking and excessive brake heat during the manufacturer's recommended break-in period, except when required for safety.
After the initial test, inspect the components again for leaks, abnormal contact, or other problems.
Do You Need to Replace Brake Pads and Rotors Together?
Not always. Brake pads typically wear faster than brake rotors, and a rotor may remain serviceable through more than one set of brake pads.
However, rotors should be replaced when their measured thickness is below specification or when damage makes them unsuitable for continued use.
Rotor replacement may also be appropriate when excessive scoring, cracking, corrosion, or thickness variation cannot be corrected safely.
Always measure rotor thickness and inspect the braking surfaces before deciding to reuse the existing rotors.
Installing new pads against badly damaged rotors can lead to noise, poor contact, and accelerated wear.
How Long Do Honda CR-V Brake Pads Last?
Brake pad life varies substantially depending on driving conditions, terrain, vehicle weight, and individual driving habits.
Frequent stop-and-go traffic, mountainous roads, towing, and repeated hard braking can increase wear.
Front brake pads often experience greater braking demand than rear pads, although actual wear patterns vary by model and driving conditions.
Hybrid CR-V models can use regenerative braking to recover energy during deceleration, which may reduce friction brake use in certain situations.
However, regenerative braking doesn't eliminate the need to inspect or maintain the conventional brake system.
Instead of replacing brake pads according to a fixed mileage estimate, inspect them regularly and follow Honda's maintenance recommendations.
How Much Does Brake Pad and Rotor Replacement Cost?
The cost of replacing CR-V brake pads and rotors depends on the model year, parts selected, local labor rates, and whether additional components require attention.
Typical repair expenses may include:
- Replacement brake pads for the affected axle.
- One or two replacement brake rotors.
- New caliper hardware and brake lubricant.
- Labor for disassembly, inspection, and installation.
- Electronic parking brake service procedures, if applicable.
- Additional caliper or hydraulic repairs when necessary.
DIY replacement can reduce labor expenses, but specialized tools and correct service information are still necessary.
Compare complete parts and labor estimates rather than choosing a repair based solely on the price of brake pads.
Common Brake Replacement Mistakes to Avoid
- Forgetting to pump the brake pedal: The pedal may initially travel too far after caliper piston retraction.
- Ignoring electronic parking brake requirements: Incorrect rear brake servicing can damage the actuators.
- Using incorrect torque specifications: Improperly tightened fasteners can create serious safety problems.
- Allowing calipers to hang by their hoses: This can damage hydraulic brake hoses.
- Applying grease to friction surfaces: Contamination can reduce braking performance.
- Skipping hub cleaning: Corrosion between the rotor and hub can contribute to runout.
- Reusing damaged hardware: Worn slide pins or retaining clips can lead to uneven braking.
- Ignoring brake fluid level: Piston retraction can cause an overfilled reservoir to overflow.
- Replacing only one side: Mismatched brake components on the same axle can create inconsistent braking behavior.
- Skipping the break-in procedure: New friction components may not develop the intended contact characteristics.
- Driving with a soft pedal: Abnormal pedal travel must be diagnosed before road use.
When Should You Replace Brake Fluid?
Brake fluid absorbs moisture over time, which can reduce its boiling point and contribute to corrosion inside the hydraulic system.
Honda uses a Maintenance Minder system on newer CR-V models to indicate when certain maintenance services are due.
On many newer models, Maintenance Minder sub-item 7 indicates brake fluid replacement.
Honda also specifies a time-based interval when the brake fluid maintenance reminder has not appeared within the prescribed period.
Replacing brake pads and rotors doesn't automatically require opening the hydraulic system or bleeding the brakes.
However, if a brake hose or hydraulic connection is opened, air may enter the system and the appropriate bleeding procedure is required.
Always use the correct brake fluid specification and follow the service procedure for your vehicle.
Frequently Asked Questions
Can I replace Honda CR-V brake pads myself?
Yes. Experienced DIY mechanics can replace brake pads and rotors using appropriate tools and service information. However, brake repairs are safety-critical, and newer models may require specialized electronic parking brake equipment for rear brake service.
How long does it take to replace brake pads and rotors?
Depending on experience, corrosion, and vehicle configuration, replacing pads and rotors on one axle may take approximately two to four hours. Additional repairs or electronic parking brake procedures can increase the time required.
Do I need to replace all four brake rotors at once?
No. Brake rotors are generally evaluated and replaced by axle. If the front rotors require replacement, you don't automatically need to replace the rear rotors unless their condition also warrants service.
Does the Honda CR-V have an electronic parking brake?
U.S.-market Honda CR-V models introduced an electronic parking brake for the 2017 model year. Earlier generations used mechanical parking brake systems.
Can I compress the rear brake caliper piston on a newer CR-V?
Only after following the correct electronic parking brake maintenance procedure. Attempting to force the piston backward without properly preparing the system can damage the parking brake actuator.
Why are my new brakes squeaking?
New brakes can sometimes produce noise during the bedding-in period. However, incorrect installation, contaminated friction surfaces, improper hardware, or defective components can also cause squeaking. Persistent noise should be inspected.
Do brake rotors need to be replaced every time?
No. Rotors can sometimes be reused if they remain within Honda's service limits and their condition is suitable for new brake pads.
What causes steering wheel vibration when braking?
Brake-related vibration can result from excessive rotor thickness variation, runout, or uneven friction deposits. Suspension and wheel-related problems can produce similar symptoms, so proper diagnosis is important.
Should I use ceramic brake pads on my CR-V?
Quality ceramic pads can be suitable for many daily-driven CR-V models when the manufacturer specifies compatibility. Choose brake pads based on correct fitment, friction characteristics, and your driving needs.
Do I need to bleed the brakes after replacing pads and rotors?
Not ordinarily, provided the hydraulic system remains sealed and no air enters it. If hydraulic components are disconnected or repaired, the correct bleeding procedure may be necessary.
Can worn brake pads damage the rotors?
Yes. If the pad friction material wears away completely, the metal backing plate may contact and damage the rotor surface.
Is it safe to drive with grinding brakes?
Grinding noises can indicate severe brake wear or another serious mechanical problem. Avoid driving until the braking system has been inspected and confirmed safe.
Final Thoughts
Replacing the brake pads and rotors on your Honda CR-V can restore proper braking performance, eliminate wear-related noises, and help prevent additional damage to the braking system.
While the basic process is similar to brake service on many other vehicles, it's important to understand the differences between CR-V generations, particularly when working with newer electronic parking brake systems.
The keys to a successful repair include purchasing quality replacement parts, inspecting calipers and hardware, cleaning the hub surfaces, using the correct torque specifications, and confirming normal brake pedal operation before driving.
For experienced DIY mechanics, front brake replacement can be a manageable maintenance project. Rear brake service on newer CR-V models may require specialized tools and additional precautions.
Regardless of whether you perform the repair yourself or hire a professional, maintaining your braking system is one of the most important investments you can make in your vehicle's safety.
Have you replaced the brake pads or rotors on your Honda CR-V? Share your model year, preferred brake components, and any helpful installation tips in the comments below.
Sources and Further Reading
- Honda - CR-V Brake System and Parking Brake Operation
- Honda - CR-V Maintenance Minder and Brake Fluid Service
- Honda - 2017 CR-V Brake System and Electronic Parking Brake
- Brembo - Brake Maintenance and Replacement Guidance
- Honda Owners - Vehicle Manuals and Maintenance Information
Editorial note: This article provides general brake maintenance information for Honda CR-V models. Brake configurations, mounting hardware, torque specifications, and electronic parking brake service requirements vary by model year. Consult the factory service manual and qualified repair personnel when necessary.




0 comments